*IBM x3650 M4按F1進BIOS,按F12進開機選單,其後LSI的RAID webBIOS要按ctrl+H進入
因有raid卡此3server改為raid 0單顆安裝(必須設定為raid0不然找到硬碟,不知有無直接取消方法,即無raid),再用clonzilla備份至NAS,若出問題由NAS倒回,覺得比跑原本的raid5好
*預設若進bios選raid0會將全部碟合成一個,抽成單個才開機或進LSI的webBIOS設定才ok

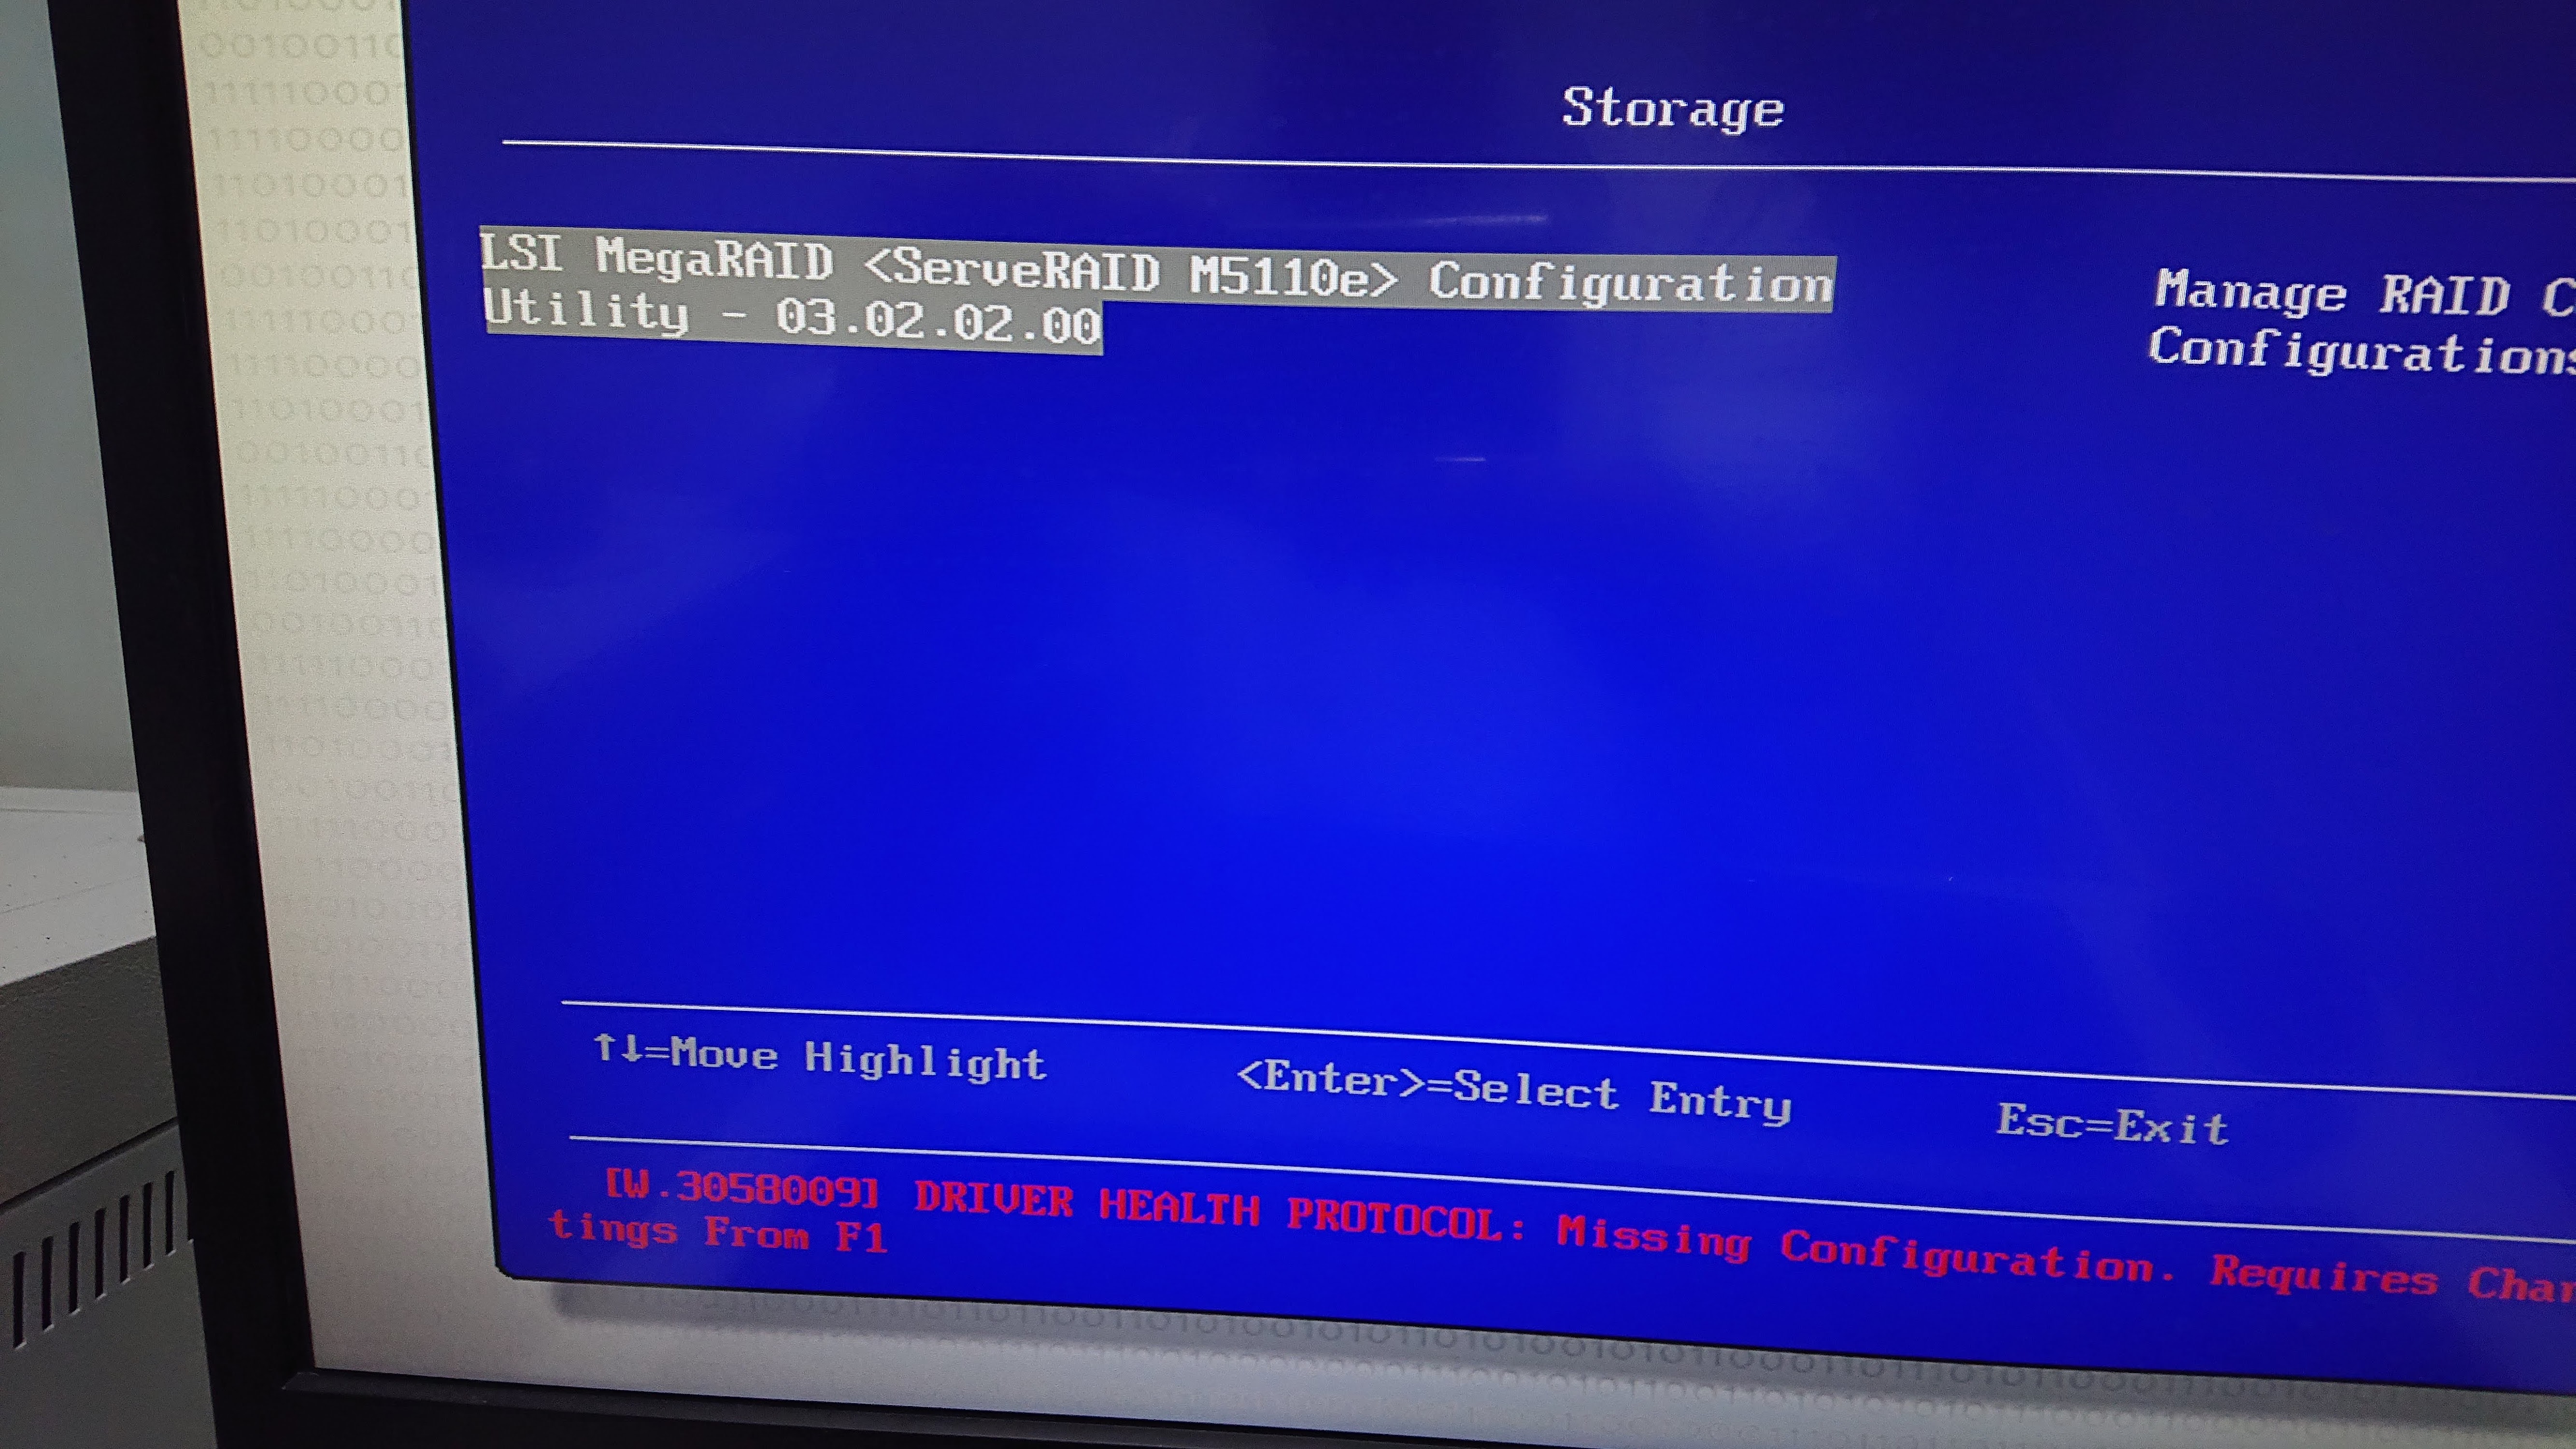


或按ctrl+H進LSI的WebBIOS設定

0.用光碟安裝,因將iso檔用tuxboot-0.8.3及unetbootin-windows-655工具寫到usb皆無法安裝
1.將OB2D網卡名稱改為舊的命名方式( eth0...)vi /etc/default/grub
GRUB_CMDLINE_LINUX="net.ifnames=0 biosdevname=0"
update-grub
2.netstate -tlnpu後vstfpd及master不用
apt-get autoremove vsftpd
apt-get auotremove postix
8.在server本機下達export LANG=c可避免看到亂碼
3.apt-get install isc-dhcp-server
4. vi /etc/default/isc-dhcp-server
interfaces="eth0"後將 /etc/rc.local更名不用,或interfaces="eth0 eth1"編輯/etc/rc.local使 用
4. vi /etc/default/isc-dhcp-server
interfaces="eth0"後將 /etc/rc.local更名不用,或interfaces="eth0 eth1"編輯/etc/rc.local使 用
systemctl status isc-dhcp-sertver確定是否真的active running
systemctl restart isc-dhcp-server重啟,ob2d也可用service isc-dhcp-server restart
5.copy /etc/dhcp/dhcpd.conf至新主機
6.vi /etc/ssh/sshd_config讓root可登入
6.vi /etc/ssh/sshd_config讓root可登入
把 PermitRootLogin without-password 改成:PermitRootLogin yes
7.apt update時發現無法update,必須vi /etc/resolvconf/resolv.conf.d/head中加入
nameserver x.x.x.x
nameserver x.x.x.x
7.apt update時發現無法update,必須vi /etc/resolvconf/resolv.conf.d/head中加入
nameserver x.x.x.x
nameserver x.x.x.x
沒有留言:
張貼留言